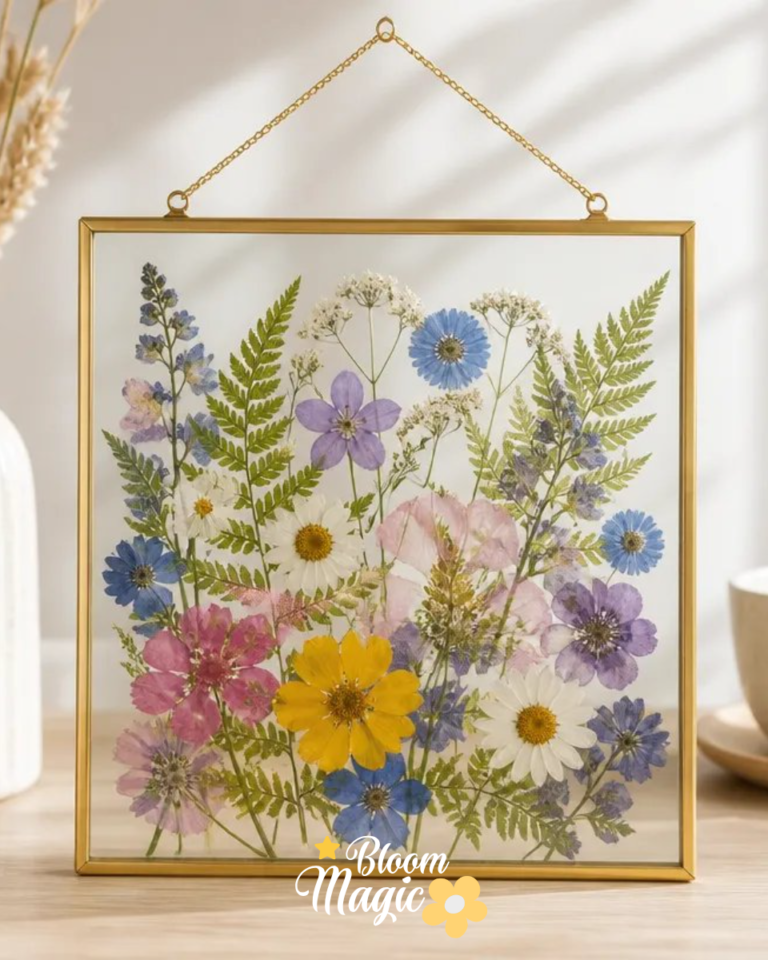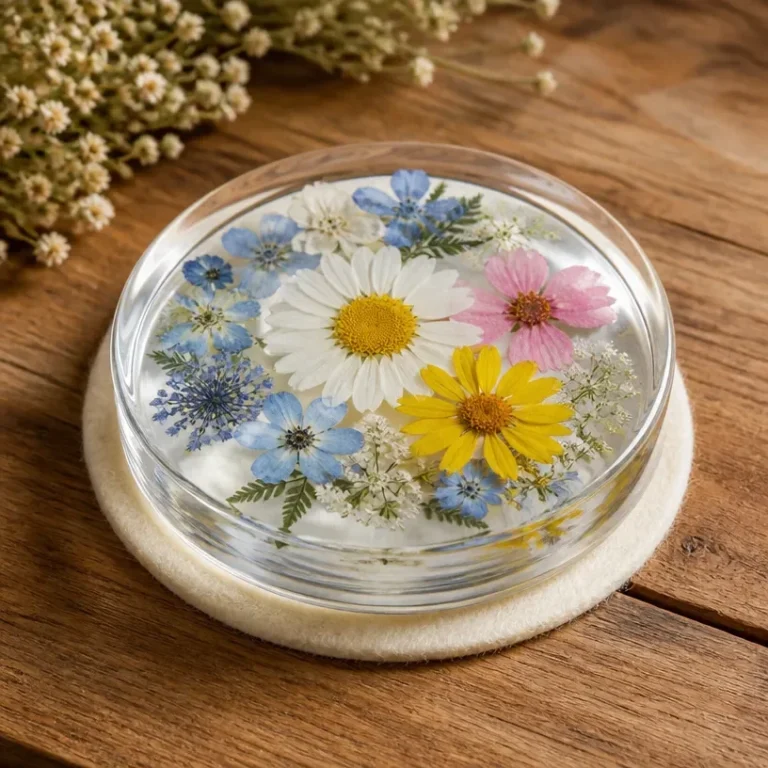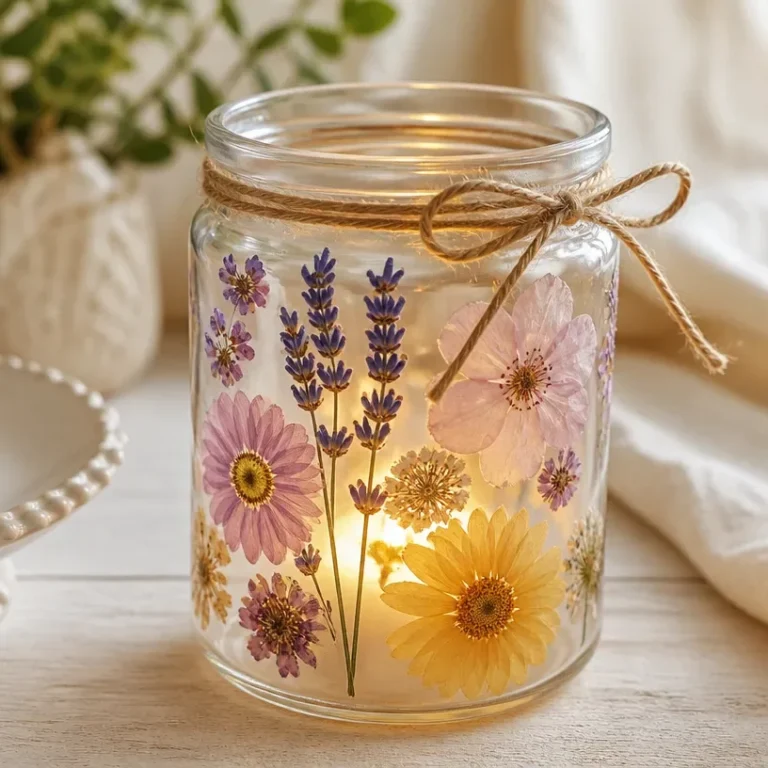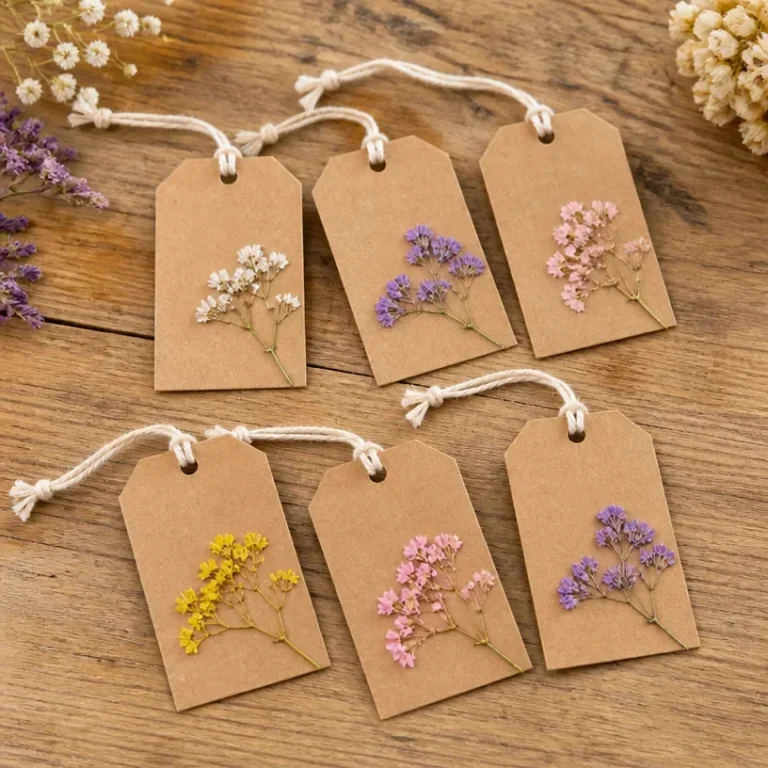
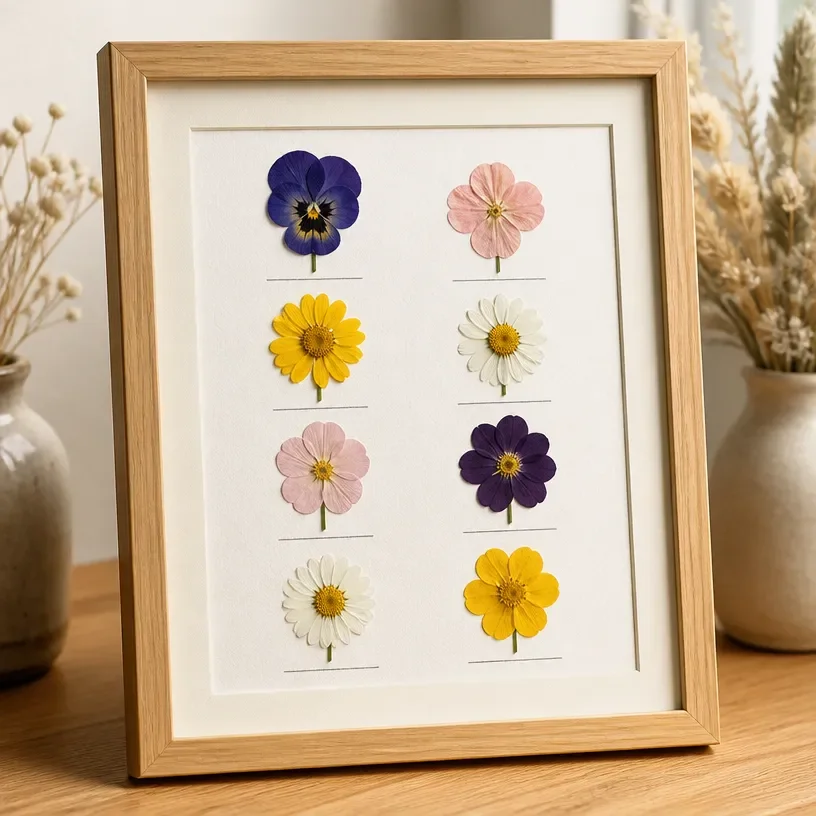
Pressed Flower Herbarium Art on Cardstock offers a delightful way to capture the beauty of flowers. Imagine yourself surrounded by vibrant, freshly cut blooms, each one a memory waiting to be preserved. Setting up for a crafting afternoon, you might reach for a few essential supplies and feel that rush of creativity. This project invites you to breathe new life into those cherished stems by transforming them into stunning botanical artwork that speaks to the heart. The magic lies in the simplicity of the process, making it an approachable and rewarding endeavor for anyone who loves flowers. You may also find Pressed Flower Air Dry Clay Heart Dish Tutorial useful.
Why This Pressed Flower Herbarium Art on Cardstock Works So Well
You may also find Pressed Flower Suncatcher Contact Paper useful.
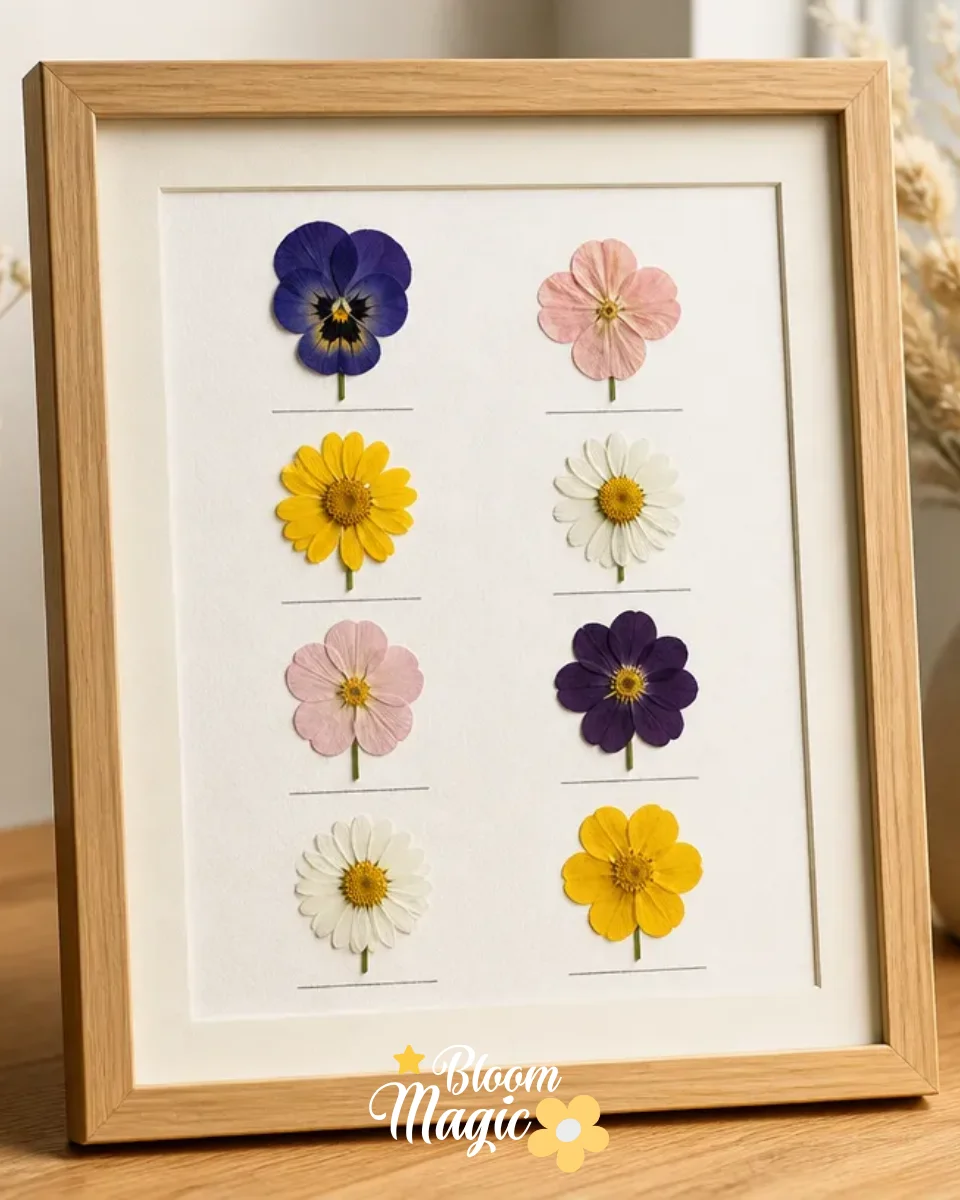
This project is exceptionally appealing because it allows you to create personalized art that reflects your style and the beauty of nature. Pressed Flower Herbarium Art on Cardstock is visually rewarding, and the vibrant colors of flowers against the backdrop of cardstock create a captivating display. Additionally, it is easy to start with common crafting materials you may already have at home or can easily acquire. This craft is prudent for decorating your living space, sharing with friends, or even giving as thoughtful gifts. The careful pressing and preserving of flowers allow you to appreciate the delicate details of each bloom, making every piece a unique creation. You may also find 3D Flower Wall Art Ideas Home Decor useful.
A Quick Look Before You Begin
Getting started on your Pressed Flower Herbarium Art on Cardstock is straightforward and fulfilling. To set up, gather your materials in a clean, well-lit workspace. The main construction approach involves selecting your favorite flowers, pressing them flat, and arranging them on the cardstock in an eye-catching way. The beauty of this project lies in its flexibility; you can mix varieties, adjust placements, and play with color combinations until you achieve a design that feels right. Be mindful that while the process is enjoyable, it may involve some delicate handling. Taking care of your flowers during pressing and assembly will help ensure that your final piece looks polished and professional.
Materials You’ll Need
- Fresh or dried flowers: Select blooms you love or that hold special meaning. Experiment with colors and types, knowing they’ll each bring a different feel to your art.
- Cardstock: Choose a sturdy cardstock that complements your flowers. White or pastel tones often work best to highlight the colors of the blooms.
- Flower pressing tools: You can use a flower press or simply heavy books to dry and flatten your flowers.
- Adhesive: A glue stick or craft glue works well for attaching flowers without causing damage.
- Scissors: To trim excess stems or leaves, ensuring a clean look.
- Clear contact paper or a frame (optional): For protecting your finished artwork or for display purposes.
These materials will help you craft a beautiful piece of art but know that the real magic is in how you choose to combine them.
Step-by-Step Directions
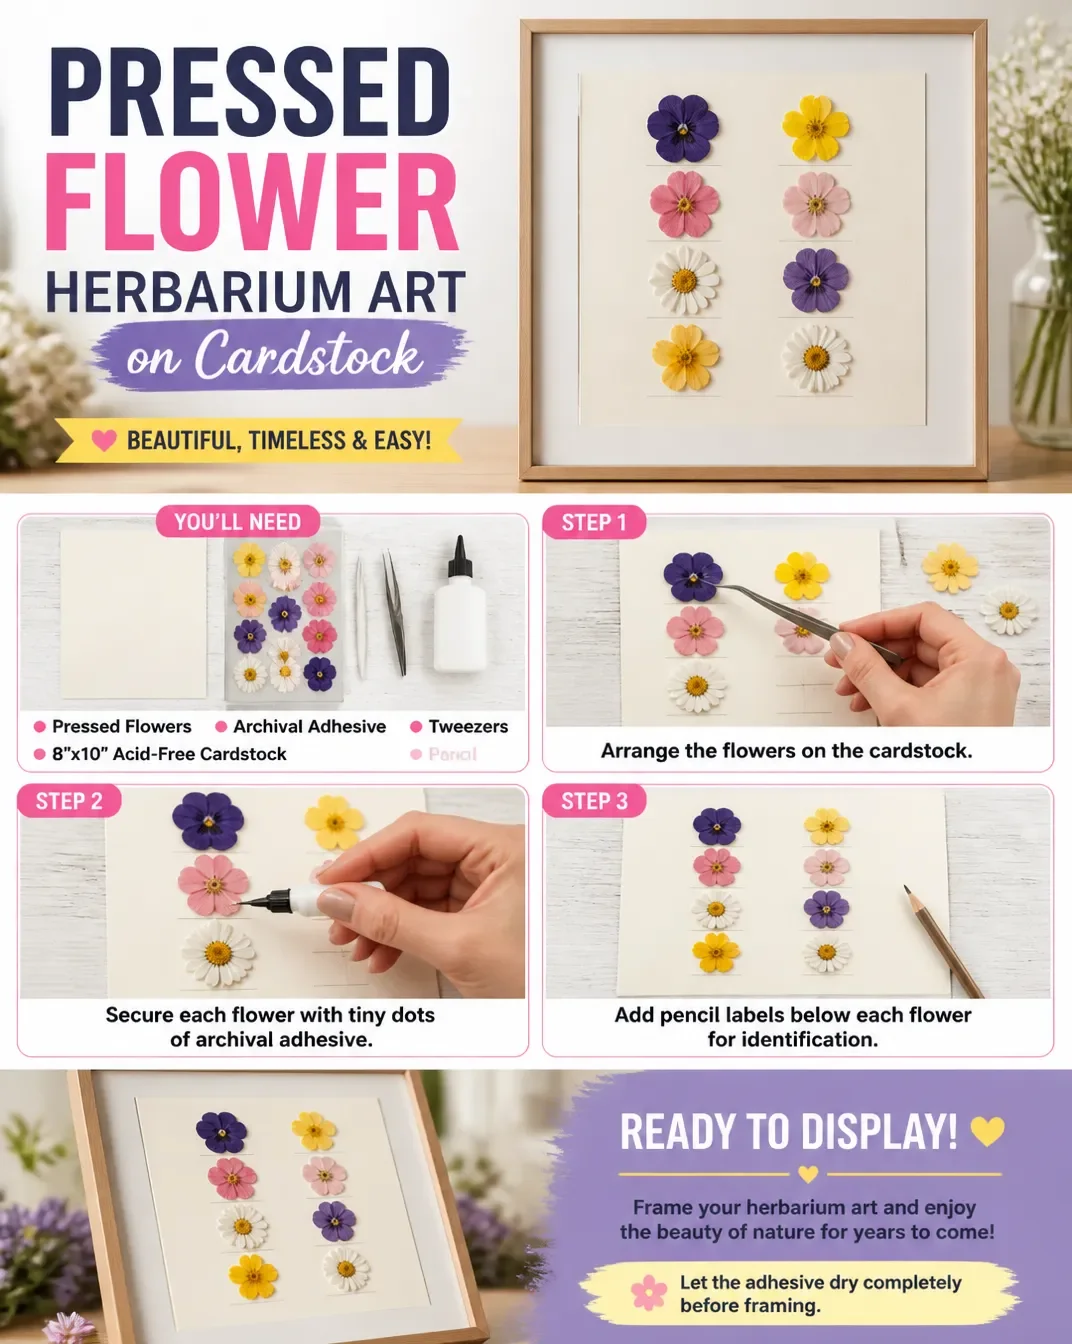
- Select your flowers: Choose a variety of blooms based on color, texture, and personal preference. Ensure that they are pesticide-free for better preservation.
- Press your flowers: Place the flowers between layers of parchment paper and use your flower press or heavy books to flatten and dry them. Leave them for about a week for optimal results.
- Prepare your cardstock: Once the flowers are fully pressed, cut your cardstock to the desired size, leaving a border if you plan to frame the piece later.
- Arrange your flowers: Before gluing them down, arrange the flowers on your cardstock to find the perfect composition. This step allows for flexibility, so don’t rush and take time to fine-tune the layout.
- Glue the flowers: Once satisfied with the arrangement, use your adhesive to attach the flowers firmly onto the cardstock. Make sure to apply the glue sparingly to avoid visible residue.
- Allow to dry: Let the glue dry thoroughly before moving the cardstock. This will help maintain the integrity of your flowers.
- Add a protective layer: If desired, you can cover your artwork with clear contact paper or frame it to protect it from dust and damage.
Each step of the process can feel rewarding, and attention to the details like flower placement and glue application will greatly enhance your final result.
The Creative Details That Bring It Together
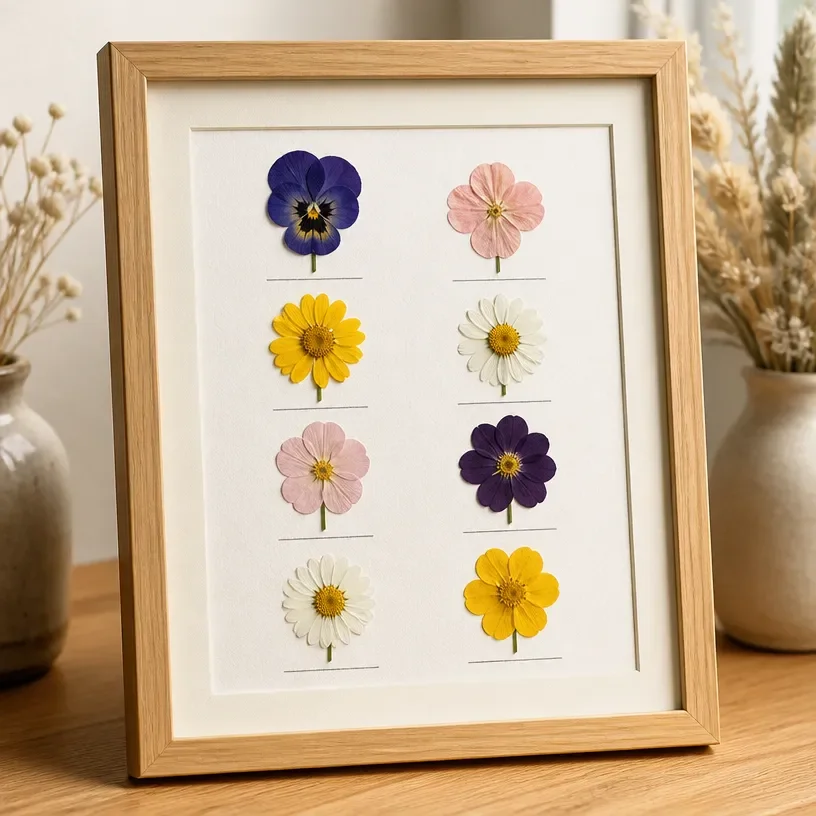
When crafting your Pressed Flower Herbarium Art, consider the elements of color, texture, and spacing that make a visual impact. Think about how the colors of your flowers interact with each other and the cardstock base. Aim for a balance of shapes and sizes to create depth in your arrangement. Layering smaller flowers around larger ones adds dimension and interest. Spacing is also critical; ensure that each piece feels intentional and not too crowded. The beauty of this craft is that it celebrates the natural variations in flowers, allowing you to showcase their unique qualities creatively.
Troubleshooting Common Issues
Crafting with flowers can come with its own set of challenges. If you find that the arrangement looks uneven or some flowers have shifted during the gluing process, don’t be discouraged. Carefully reposition those flowers while the glue is still fresh. If the petals look fragile or begin to break while handling, proceed gently and consider using a lighter touch with your adhesive. Lastly, if you notice too much visible glue, use a damp cloth to dab the area and remove excess without disturbing the flowers. These small fixes can help ensure your artwork reaches its full potential.
Easy Variations to Try
As you become comfortable with the process, consider some fun variations to personalize your projects further:
- Color themes: Try sticking to a specific color palette to create a cohesive look that aligns with your decor.
- Mixed botanicals: Incorporate other botanicals like leaves or ferns to introduce texture and depth to your compositions.
- Background changes: Use colored or patterned cardstock instead of plain white to see how it changes the overall feel of the artwork.
- Themed displays: Create seasonal pieces with blooms that reflect different times of the year, such as pastels for spring or rich reds and oranges for autumn.
- Gift presentation: Consider varying the presentation style, perhaps by creating greeting cards or smaller framed pieces as gifts for friends and family.
These variations offer a way to explore the creatively infinite world of botanical art while still building on the basic framework of this project.
Displaying or Keeping Your Project
The final beauty of your Pressed Flower Herbarium Art lies in how you choose to display it. Consider framing your artwork to protect it while also showcasing it as a centerpiece in your home. Alternatively, you could lean it against a shelf or mount it on a wall for a casual yet elegant display. If gifting your artwork, think about wrapping it up in a beautiful package or adding a personal note a keepsake that shares your love of flowers and creativity. It’s also lovely to maintain your workspace with any leftover materials, considering ways you can use them in future projects to reduce waste and foster your crafty spirit.
FAQs About Pressed Flower Herbarium Art on Cardstock
What if I can’t find the right flowers?
No worries at all! You can always use flowers from your garden or purchase seasonal blooms at local markets. Even dried flowers from craft stores can work beautifully in this project.
How can I replace delicate petals?
If you notice some petals are too fragile, consider using sturdier flowers like daisies or sunflowers, which tend to hold up better during assembly. You can also press thicker flowers like pansies to achieve a sturdier finish.
Can I use different adhesives?
Absolutely! While craft glue or glue sticks are common choices, you might also try a clear-drying craft adhesive for a more polished finish. Just make sure it dries clear!
How long will my artwork last?
While preservation techniques vary, properly pressed and mounted flowers can last quite a long time. Keeping your artwork out of direct sunlight can help maintain its colors and integrity.
What should I do if my flowers start to lose their color?
If petals start to fade, you can revive the composition by layering additional colors or botanicals. It may also be worthwhile to create new pieces using fresh blooms to refresh your collection.
A Final Helpful Note
Bringing your vision of Pressed Flower Herbarium Art on Cardstock to life should feel like a joyful journey of creativity. With patience, flexibility, and a careful eye for detail, you can craft not only a beautiful piece of art but also a meaningful connection to the flowers you cherish. Embrace layers and textures, and let your creativity guide you to a final project that you are proud to showcase.
Conclusion
As you finish your Pressed Flower Herbarium Art, remember the joy that comes from capturing nature’s beauty. Whether you’re exploring more projects like DIY Vintage-Inspired Pressed Flower Art or seeking unique materials from Pressed Flower Cardstock on Etsy, the options for creative expression are endless. Let your newfound skills inspire you to continue crafting with flowers and enjoy the process of bringing nature indoors.
Follow us on social for more floral DIY projects & botanical inspiration!

Pressed Flower Herbarium Art
Would you like to save this recipe?
By submitting you agree to receive this recipe and occasional emails. Unsubscribe anytime.
Ingredients
Materials
- Fresh or dried flowers Fresh or dried flowers: Select blooms you love or that hold special meaning. Use pesticide-free flowers for better preservation.
- 1 sheet Cardstock: Choose a sturdy cardstock that complements your flowers. White or pastel tones work best.
- 1 set Flower pressing tools: You can use a flower press or heavy books. To dry and flatten your flowers.
- 1 stick Adhesive: A glue stick or craft glue works well for attaching flowers. Use sparingly to avoid visible residue.
- 1 pair Scissors: To trim excess stems or leaves. Ensure a clean look.
- 1 sheet Clear contact paper or a frame (optional): For protecting your finished artwork. Use for display purposes.
Instructions
Preparation
- Select your flowers based on color, texture, and personal preference.
- Press your flowers between layers of parchment paper using a flower press or heavy books. Leave them for about a week.
- Once flowers are pressed, cut your cardstock to the desired size.
- Arrange the flowers on your cardstock to find the perfect composition.
- Once satisfied, use adhesive to attach the flowers onto the cardstock.
- Allow the glue to dry thoroughly before moving the cardstock.
- Optionally, cover your artwork with clear contact paper or frame it to protect it.
Last Step: Don’t forget to leave a rating and comment below! It helps other readers find the best recipes — and it helps us too!
Tips & Notes:
Nutrition Information: Serving: 1 | Calories: | Carbohydrates: | Protein: | Fat: | Sodium: | Fiber: | Sugar:
Nutritional information is provided as a courtesy and calculated automatically. Values can vary depending on the brands and ingredients you use, so if you’re tracking closely, I recommend calculating with your own preferred tool.